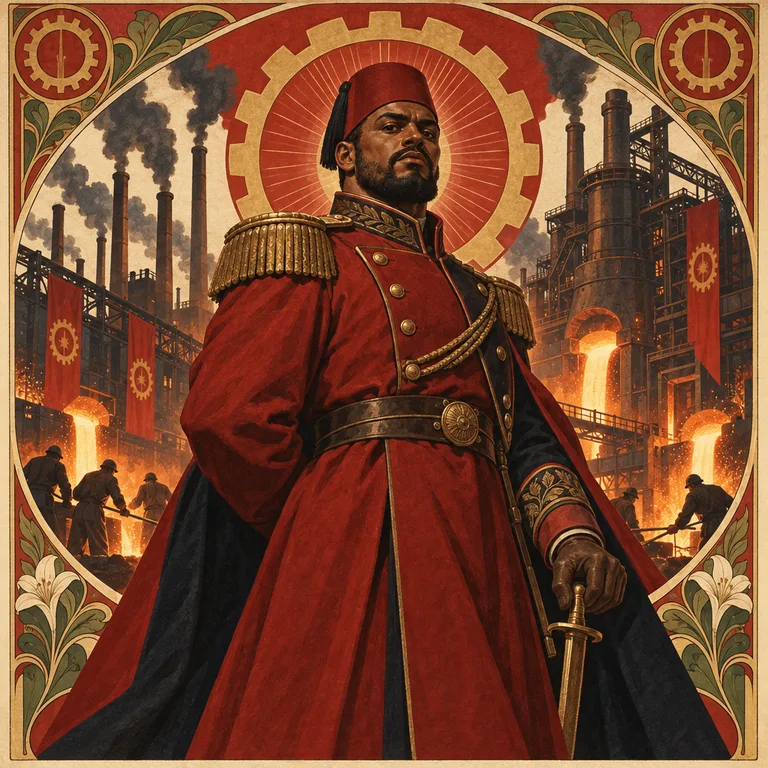
Marshal Zahir
RECYCLEMotor Overload
cards.ability.motor-overload.description

A TCG of Tactics and Logistics in the Dieselpunk Universe
This manual presents the official rules of Vitorian Wars, a Trading Card Game set in a dieselpunk universe where grid tactics, industrial logistics, and archaic nobility meet in epic battles.
In Vitorian Wars, you take on the role of a Commander in a world where diesel engines and fire magic collide in strategic combat. Command your army, manage limited resources, and overcome your opponents in this tactical card game inspired by the propaganda war aesthetics of the interwar period. The Great War never ended. Your objective is to defeat the opposing Sovereign by reducing their Defense Stack to zero while managing your own resources to avoid logistical collapse.
The battlefield is organized into a grid with 4 rows and 5 columns, representing different combat zones:
Line 4: Opponent's Rear Guard (Enemy General Staff)
Line 3: Opponent's Vanguard (Enemy Front Line)
Line 2: Your Vanguard (Your Front Line)
Line 1: Your Rear Guard (Your General Staff)
Command Area:
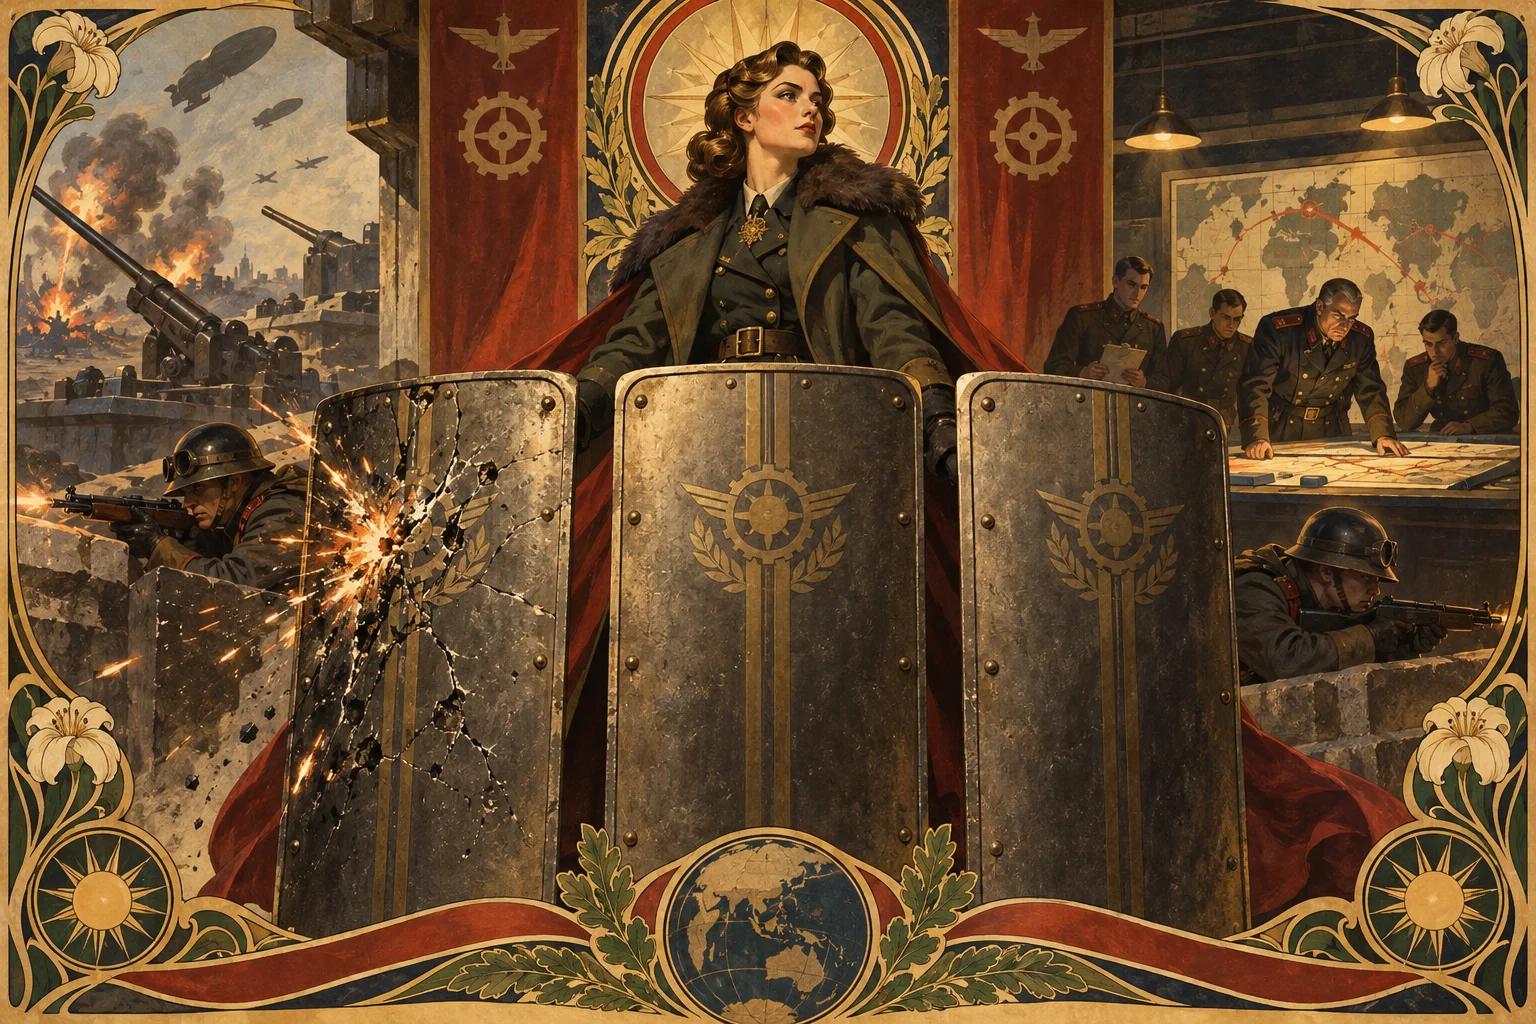
Houses your Sovereign and Defense Stack (composed of 3 cards)
Displays the current Field Condition
Your army is composed of the following elements:
Defines the color identity of your deck and grants access to the mechanic.
Contains , Order cards, and . Maximum of 4 copies per card.
Cards randomly drawn from your deck at the start of the match to serve as your protective "shield".
A separate deck containing your logistical resources, composed of Personnel and Supply cards. At the start of the match, reveal the top 3 cards of the Supply Convoy and add them to your Resources Area.
Ready your cards (unexhaust), supply new resources, and pay maintenance for elite units.
Mobilize new units, play Order cards, install Equipment (through the Link mechanic), and move troops between lines.
Declare attacks and resolve confrontations following the combat protocol.
Resolve end-of-turn effects and perform battlefield cleanup.
Resources are divided into two main categories: • [P] Personnel – used for recruitment and troop movement • [S] Supplies – used for fuel and machine activation
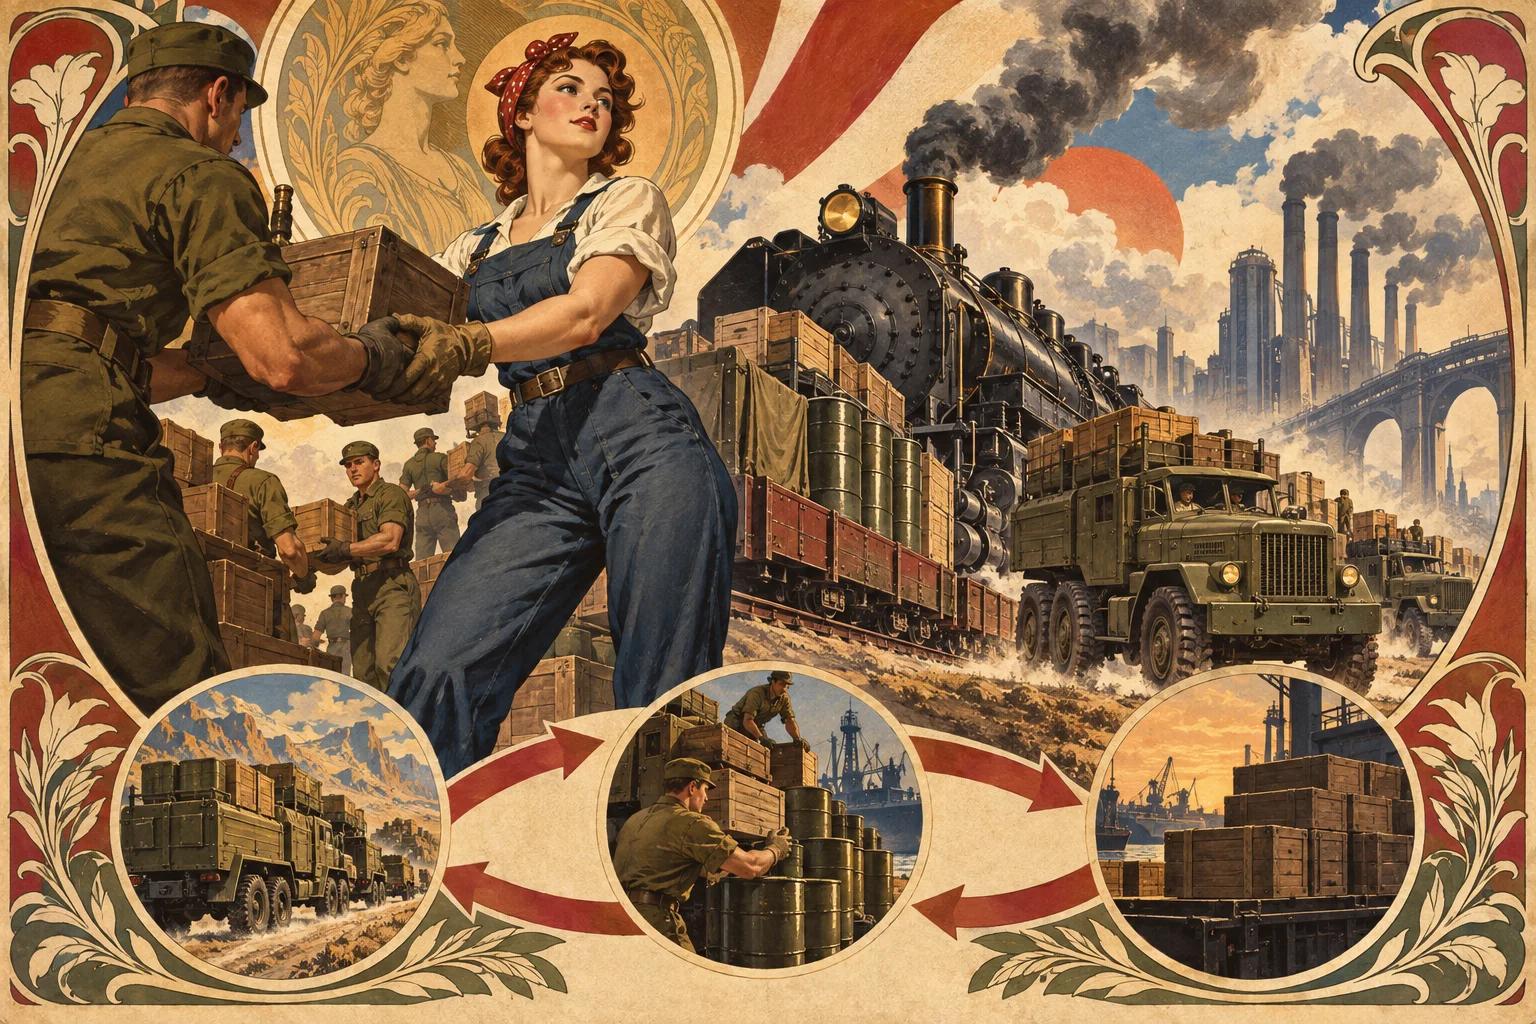
At the start of each turn, reveal the top card of your Supply Convoy and add it to your available Resources Area.
After supplying, draw the top card from your Maneuver Deck to your hand.
At the start of each turn, immediately after supplying, you must exhaust 1 [S] for each Elite Unit (Level 5 or higher) under your control. If you cannot pay this cost or choose not to pay it, the unit is destroyed and removed from the battlefield.
You can place a resource in play at the bottom of the Convoy to activate immediate effects, such as Circular Logistics (which allows recycling cards from discard back to the deck) or gain temporary offensive bonuses.
Critical state that occurs when your Supply Convoy has no cards to supply at the start of the turn., you lose your next turn and need to reshuffle the cards to form a new Supply Convoy, unless you use the Defense Sacrifice mechanic to convert protection cards into resources.
Troop movement is a central element of strategy in Vitorian Wars. Using the 4×5 battlefield grid allows creating tactical advantages such as flanking and artillery support. The following rules detail how Sovereigns influence unit movement:
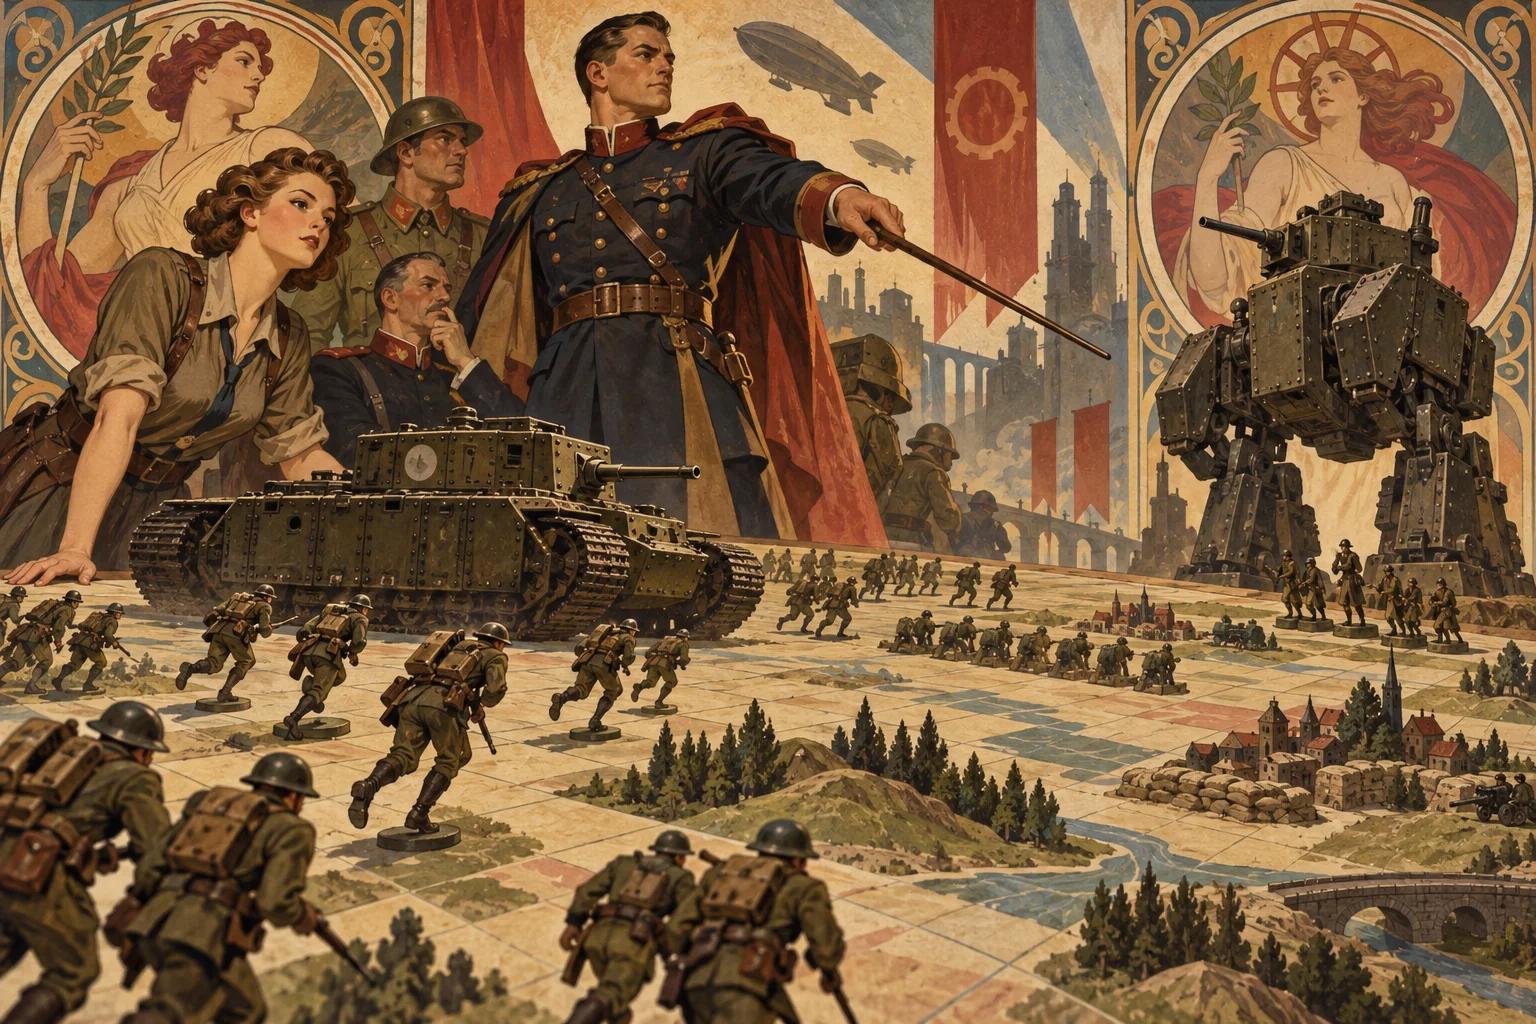
Mobilization and standard movement of units between lines (Vanguard and Rear Guard) occur during the Main Phase.
To position a unit from your hand onto the battlefield, choose an available position on the grid (4×5) and pay the costs indicated on the card during mobilization.
Moving troops already in the field generally requires Personnel [P] resources, representing the logistics necessary for repositioning.
Units can move between your Rear Guard (Line 1) and your Vanguard (Line 2) to position themselves strategically before combat.
Units with this ability (common in the Sky Federation) move between lines without [P] cost.
Larger war machines require a combined cost of [P] + [S] to change position.
Massive units that cannot change lines after mobilized, requiring precise initial positioning.
Advanced ability that allows moving a unit to an adjacent column specifically to reinforce a combat already declared in the same phase.
RECYCLEMotor Overload
cards.ability.motor-overload.description
Combat follows a rigorous tactical sequence of 5 steps:
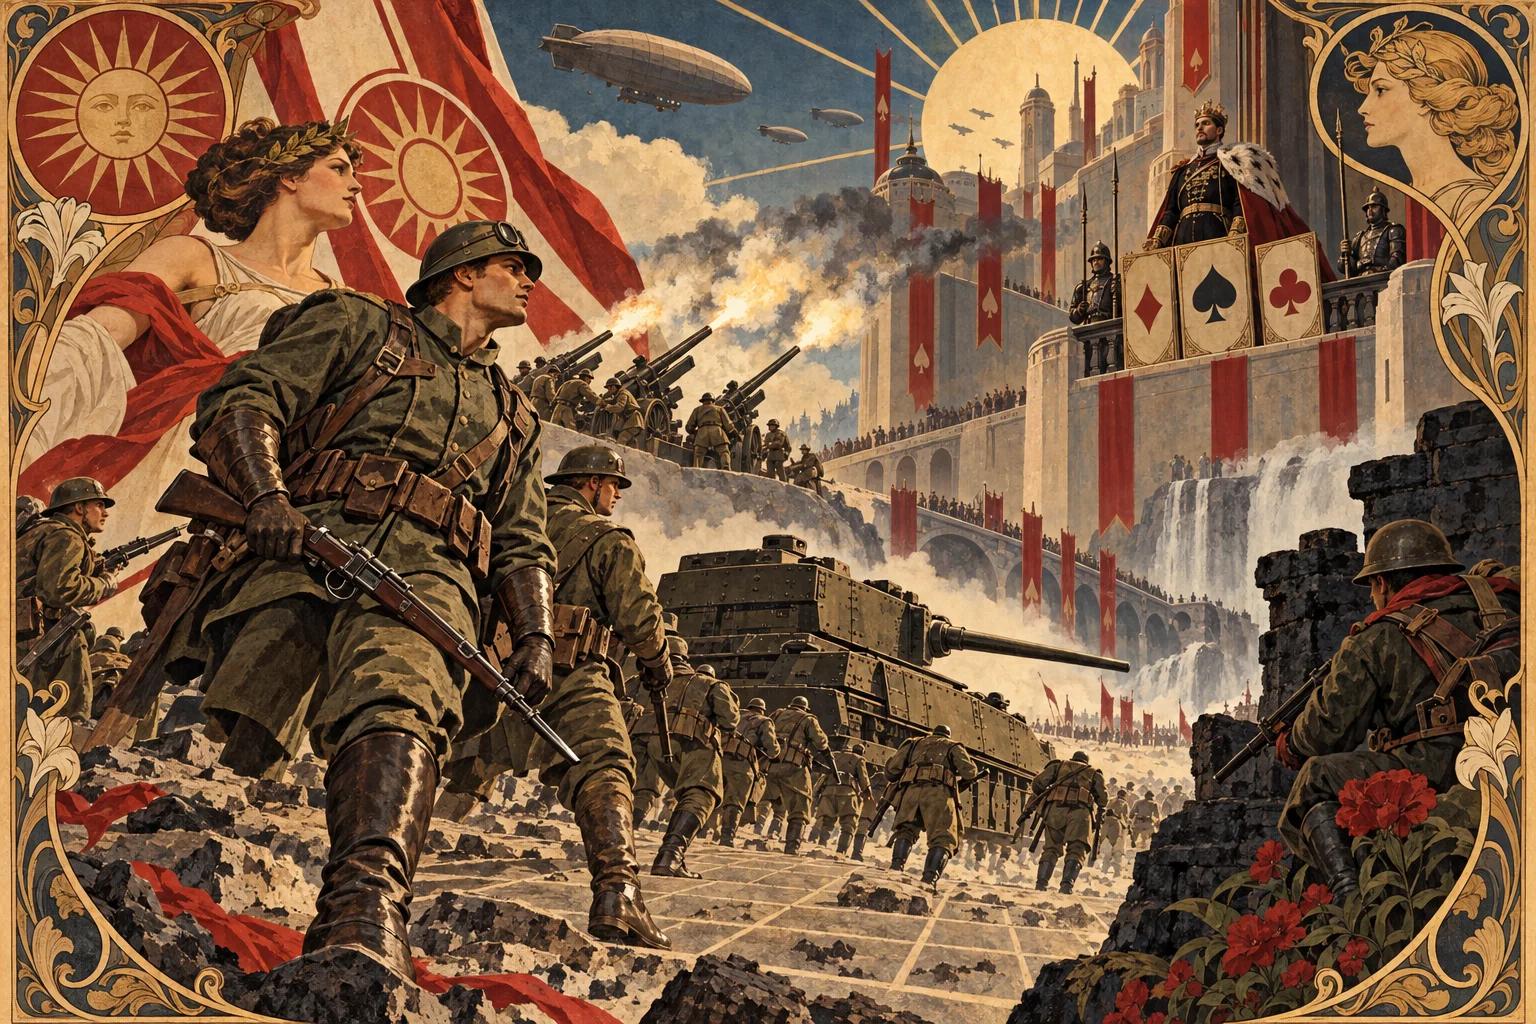
Choose a ready (non-exhausted) unit in the Vanguard to attack an enemy unit in the same column or the opposing Sovereign.
Both players can respond with Order cards or activate abilities, forming a resolution stack (LIFO – last in, first out).
Units in the Rear Guard can exhaust 1 [S] to add their attack power to the fighting unit in the same column.
Damage is calculated simultaneously. If the attack is greater than or equal to defense, the unit is destroyed.
If the Sovereign is hit, reveal the top card of the Defense Stack. If it has the Burst keyword, its effect is activated for free.
When an allied unit occupies a column adjacent to the target, the defender suffers -1/-1 to their attributes during combat.
Ability that allows moving a unit to an adjacent column to reinforce a combat in the same turn.
Units with this ability must be attacked mandatorily before the Sovereign can be targeted for direct attacks.
Excess damage after destroying a defender is applied directly to the enemy Defense Stack.
The color system defines the identity of dieselpunk nations and the construction strategy of each army. Each deck is linked to a Sovereign, whose colors determine which cards can be included. Meet the four main nations and utility colors:
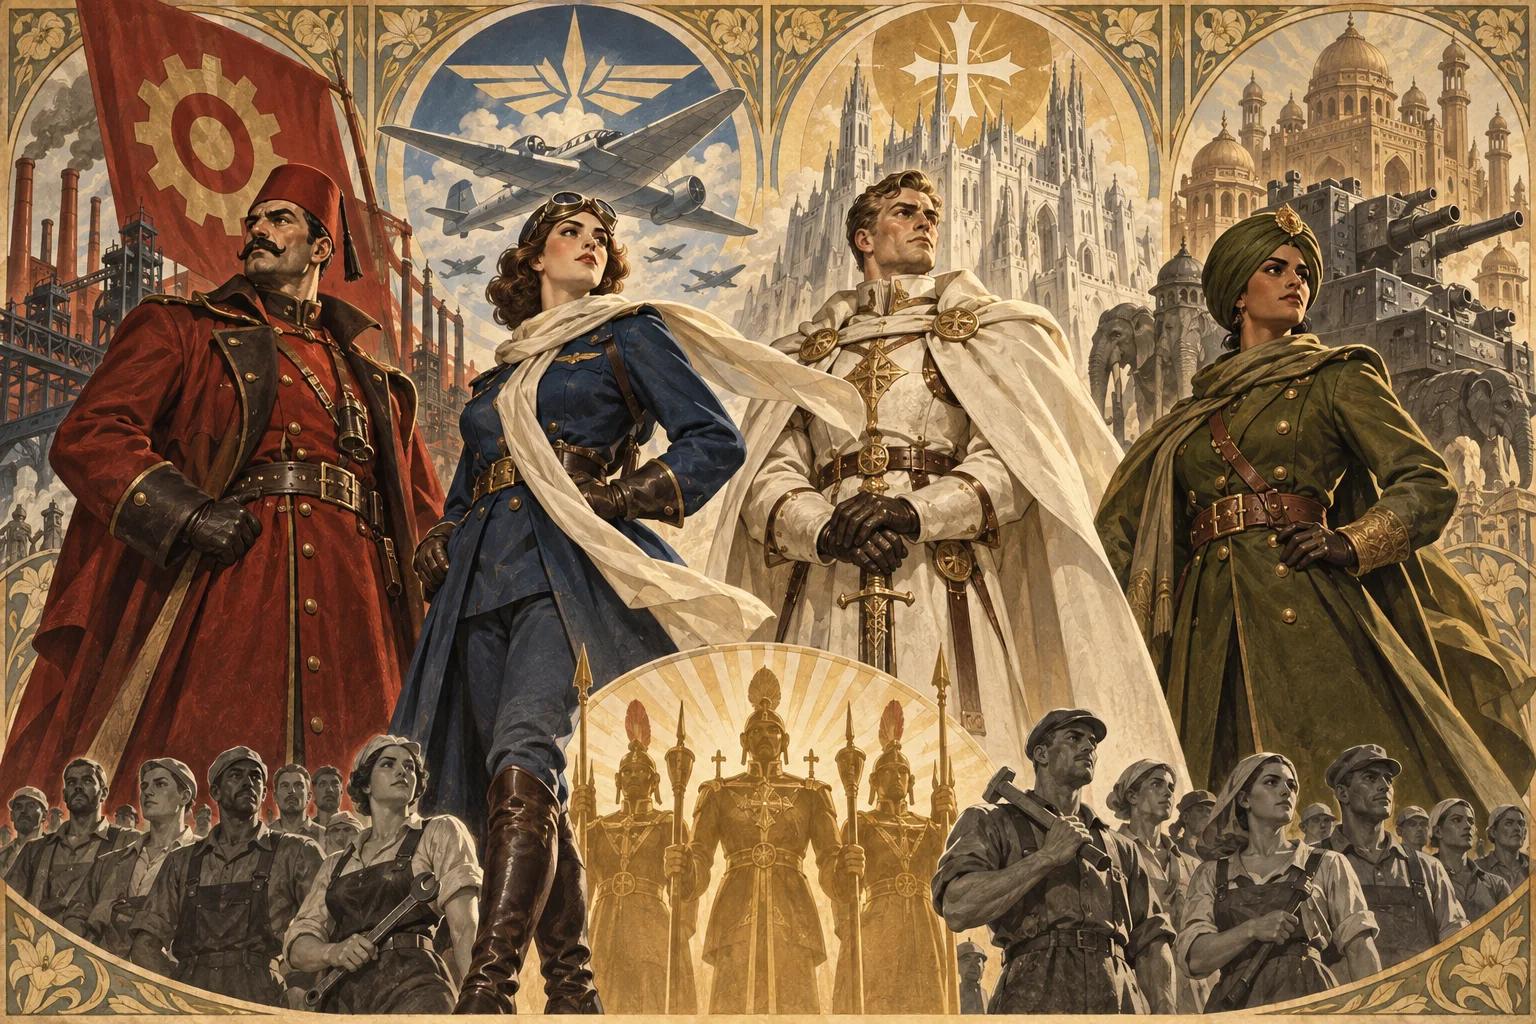
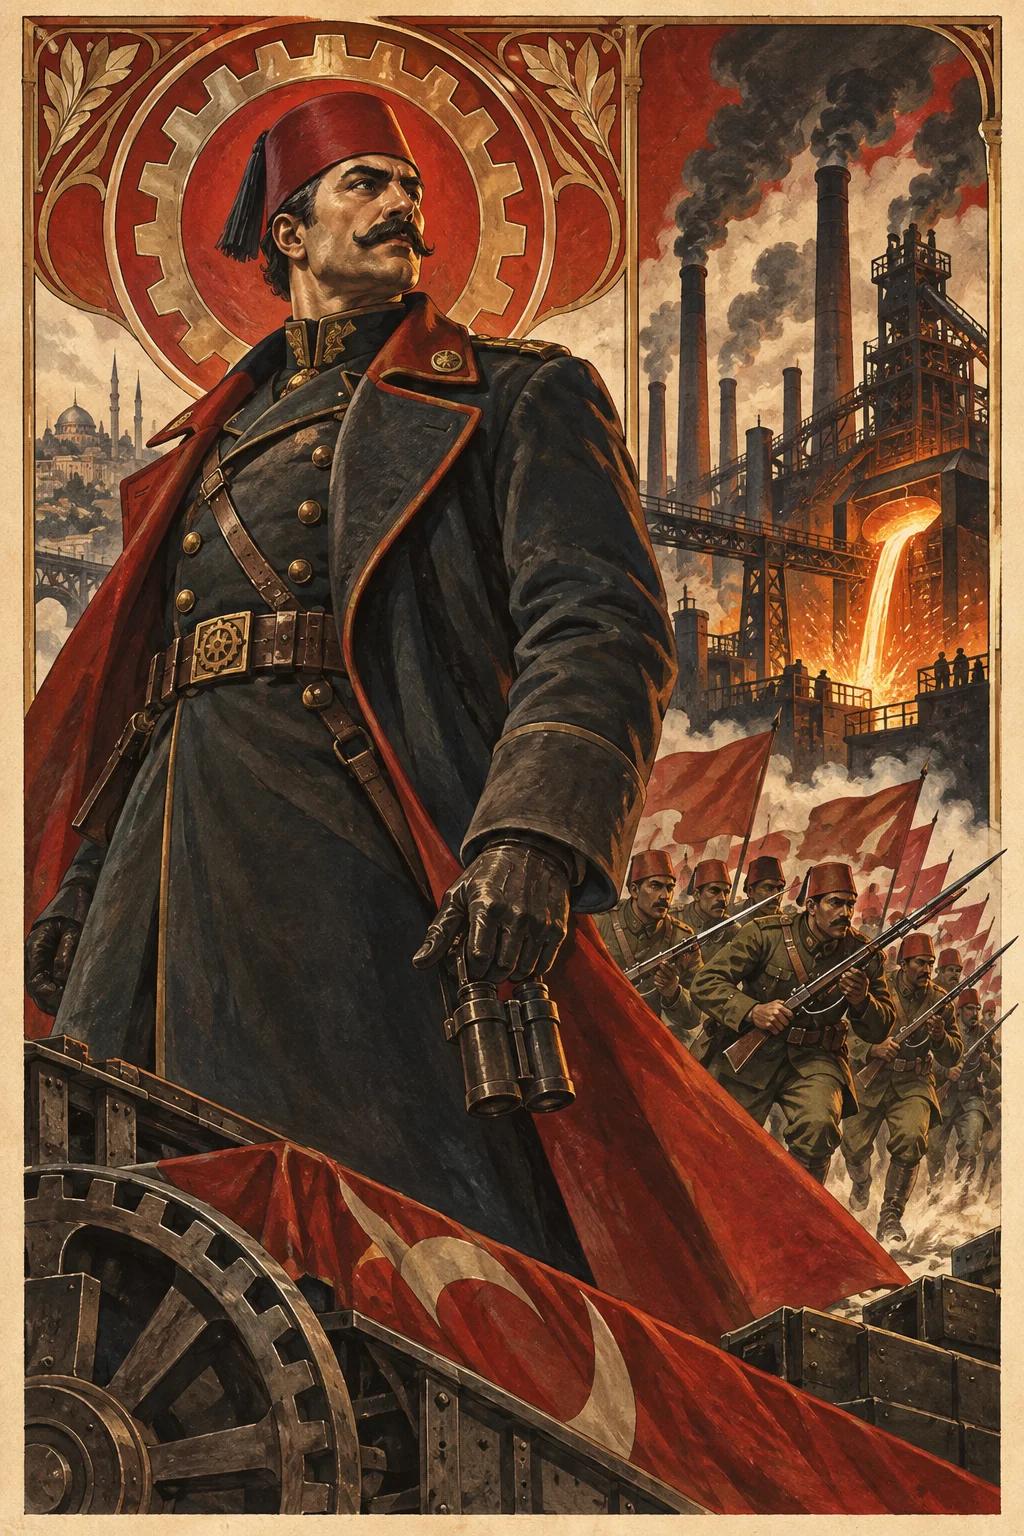
Theme: Industrial power, smoking chimneys, and relentless offense.
Archetype: Mass offensive and line breaking.
Strategy: Focus on units with Bayonet Charge (attack immediately upon entering the field) and Armor Piercing, dealing direct damage to enemy defense after destroying defenders.
Sovereign: Industrial Blitzkrieg passive ability allows supplying 2 resources per turn, accelerating the economy in exchange for greater Burnout risk.

Theme: Aerial aristocracy, technological superiority, and flight mages.
Archetype: Aerial mobility and precision strikes.
Strategy: Uses the Light and Swift keywords, allowing units to change lines without cost and attack without exhausting. Aerial Observers perform Long Range attacks ignoring ground defenders.
Sovereign: Abilities like Aerial Reconnaissance allow filtering Convoy resources, while Evasive Maneuvers enable tactical repositioning via recycling.
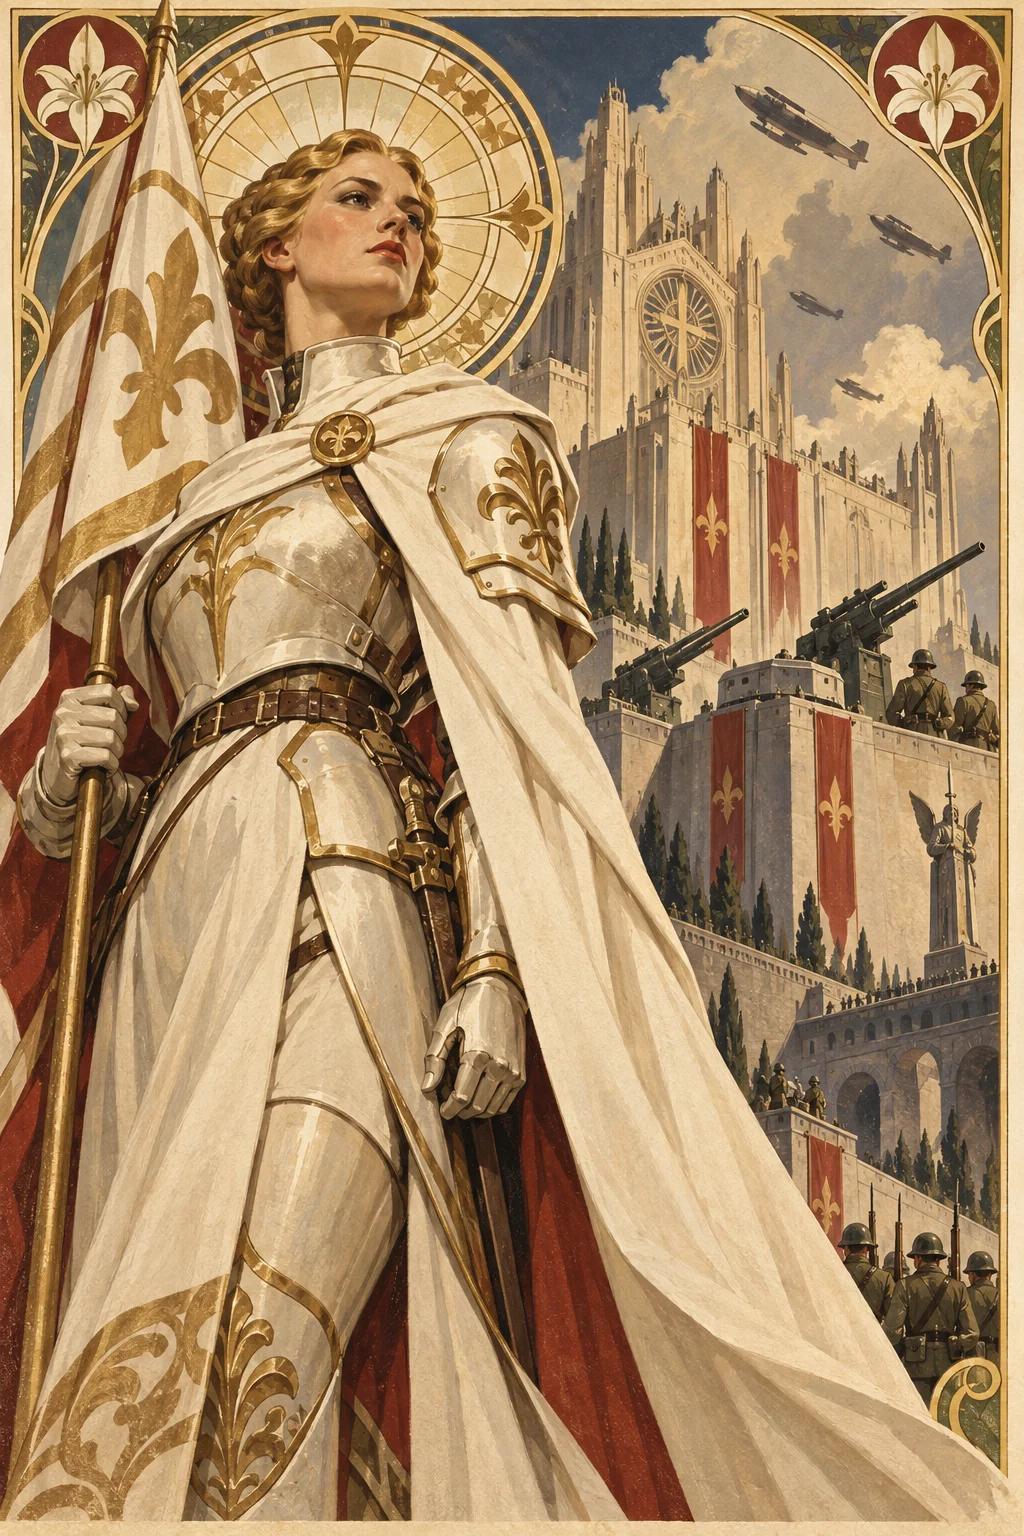
Theme: Religious nationalism, State purity, and capital defense.
Archetype: Static defense and fortification.
Strategy: Centered on units with Entrench (mandatory blockers) and Reactive Armor, which doubles defense during combat.
Main Mechanic: Best Burst cards in the Defense Stack, activating free protections when the Sovereign is hit. The Sovereign can grant Shield markers during supply.
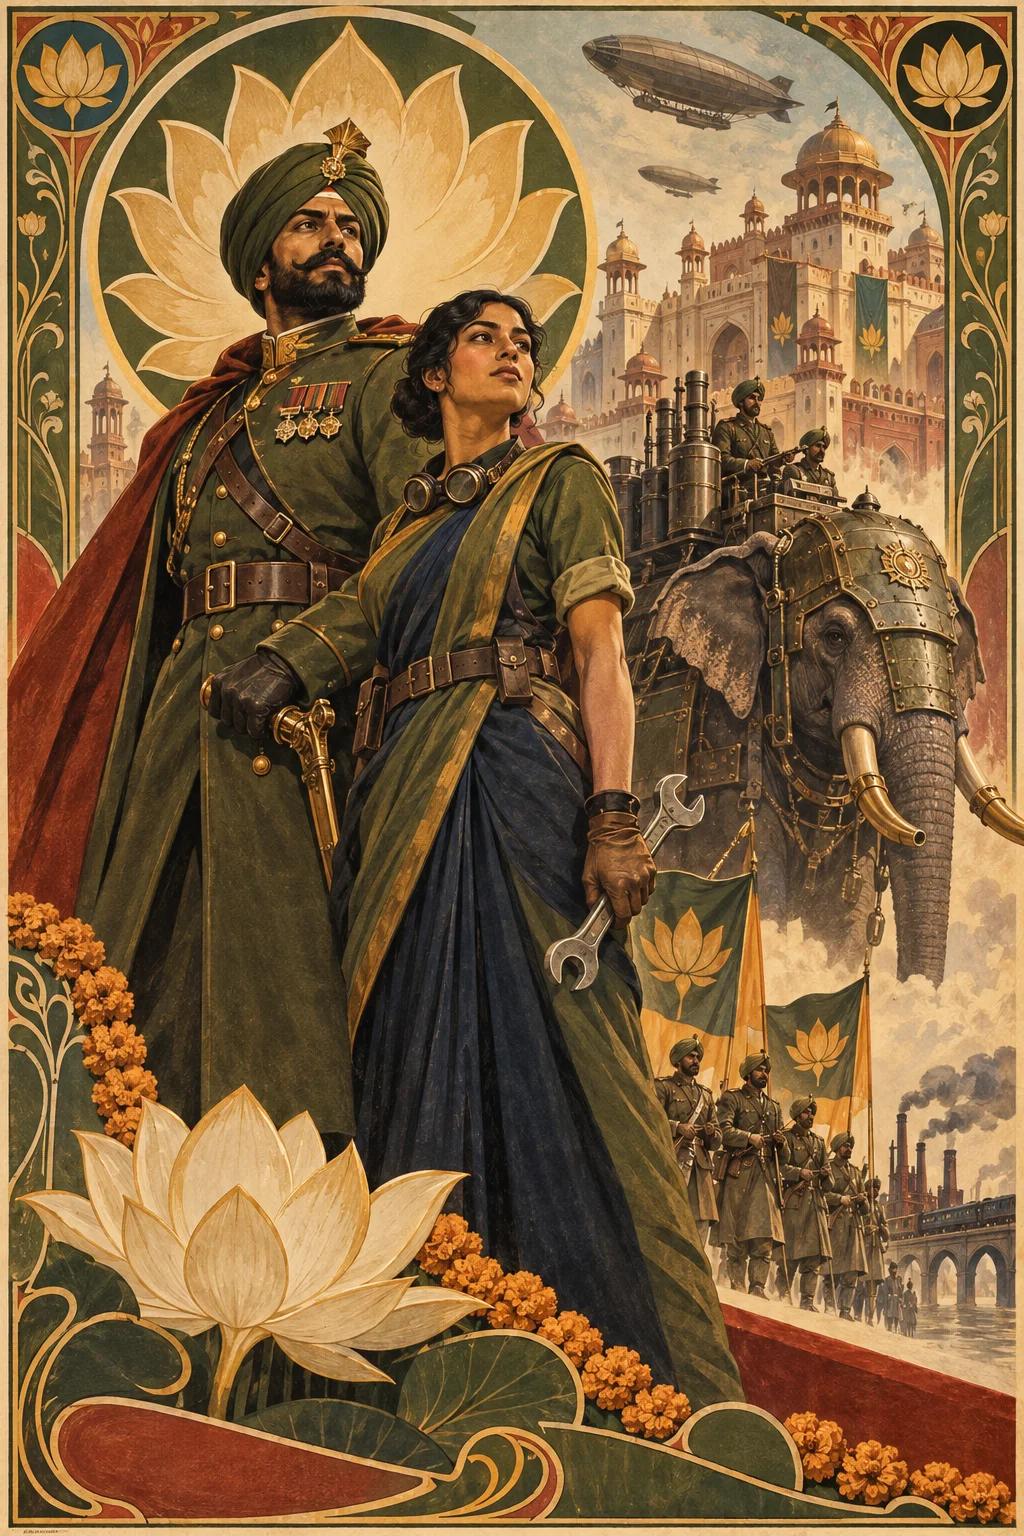
Theme: Proud river-plain and coastal peoples united under one banner: monsoon-tested resilience, craftsmanship, and war of attrition.
Archetype: Logistical superiority and elite units.
Strategy: Focus on Heavy and Brute units with high defense values to dominate the field for extended periods.
Main Mechanic: Only color capable of sustaining the Circular Logistics loop, recycling resources from discard back to the Convoy to avoid Burnout.
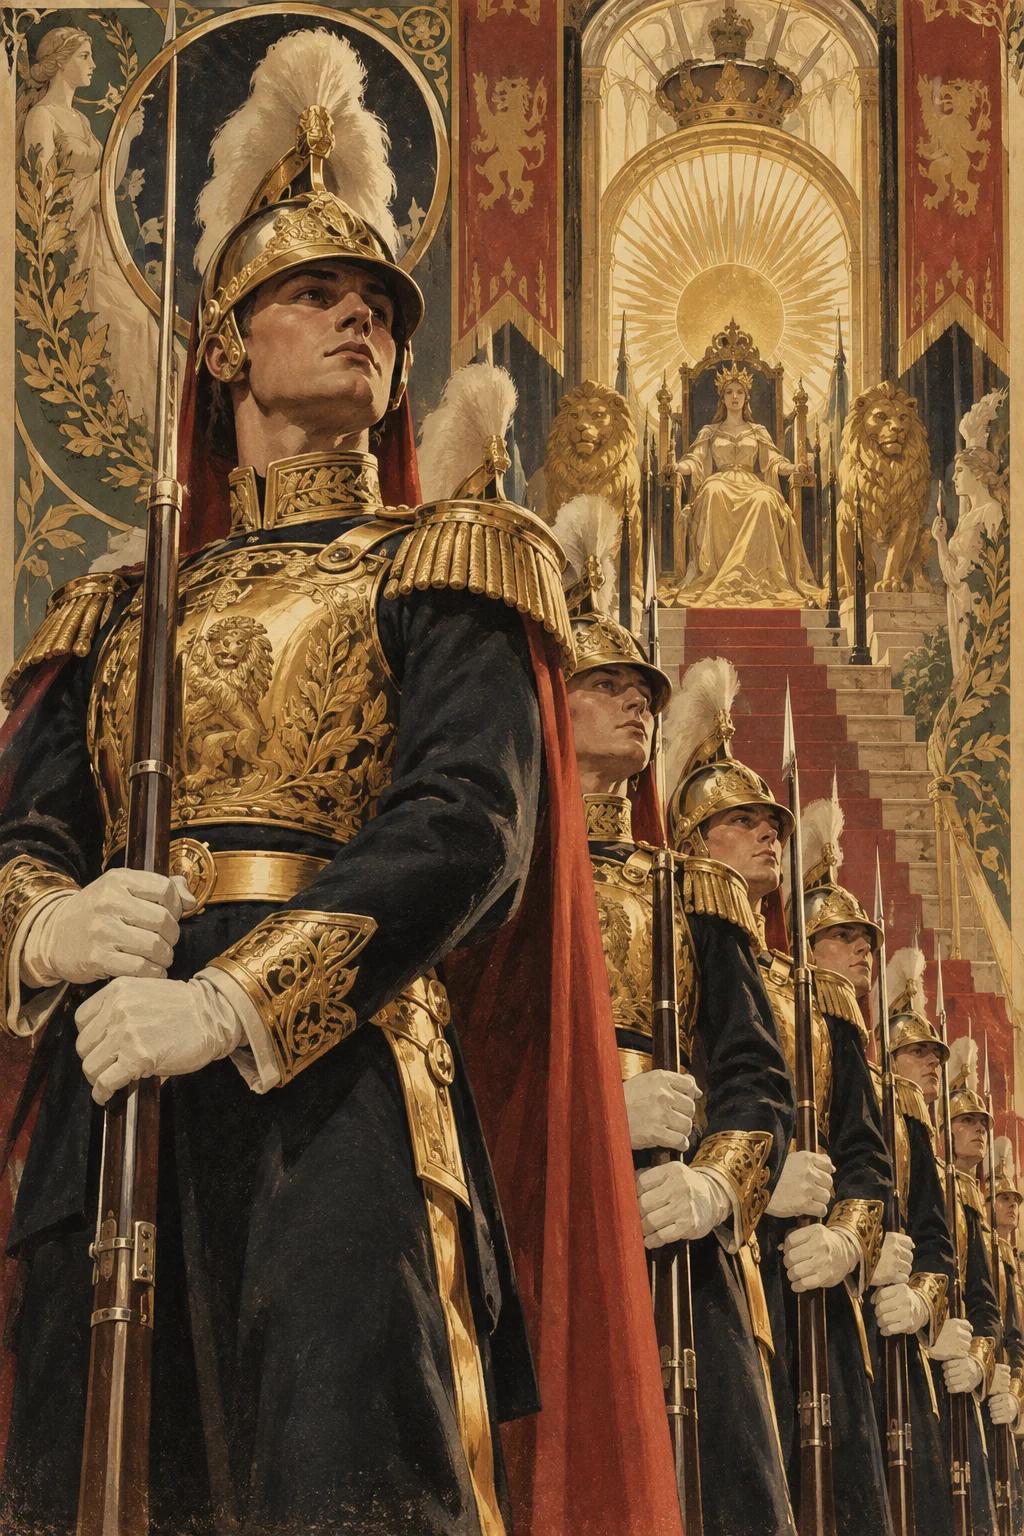
Gold (The Royal Guard): Elite cards requiring high logistical costs. Function as "finishers".
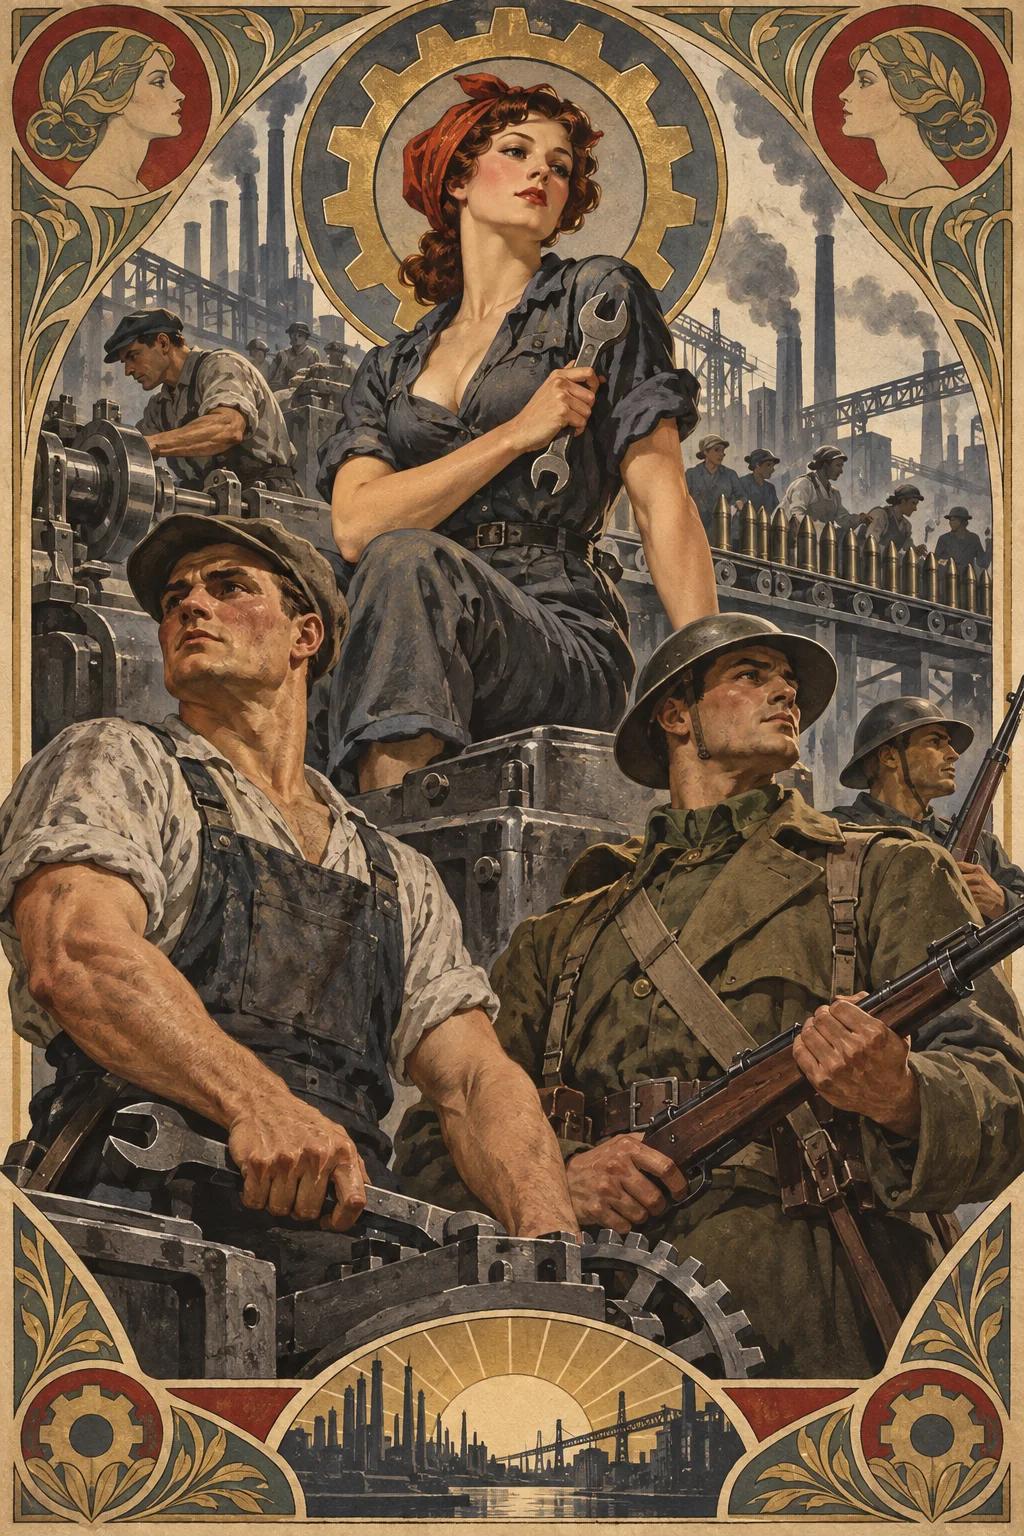
Gray (Neutral Workforce): Militias and basic equipment without national identity. Function as the "gears" of the game, helping any deck generate [P] or [S] icons and return cards to the Convoy to avoid burnout.